Experience Center
Accessing a Privileged Remote Access Portal
A Privileged Remote Access (PRA) Portal displays the Microtenants, shared privileged sessions, and privileged consoles that your end users are authorized to access. After an end user logs in, the PRA Portal home page appears. The privileged consoles an end user can see are based on access policies for the application segments that are assigned to the privileged consoles. The displayed privileged consoles can be launched directly from the portal by clicking on them. Any privileged consoles with the policy rule set to Deny are not visible to the end user.
The PRA Portal is dependent on the Default Timeout Policy rule's authentication timeout.
PRA Portal Features

You can update the logo and favicon on the Company Profile page.
The icons at the top of the PRA Portal do the following:
- Home: Click the Home icon to return to the PRA Portal landing page. This icon is only displayed if you have the PRA File Transfer System feature enabled.
- PRA File Transfer System: Click the PRA File Transfer System icon to go to the My Files and Uninspected Files pages. This icon is only interactive if you have the PRA File Transfer System feature enabled.
- Refresh: Click the Refresh icon to refresh the PRA Portal page.
- Settings: Click the Settings icon to choose a keyboard language for the privileged console.
- Account: Click the Account icon to adjust your account information for the PRA Portal.
- Log Out: Click the Log Out icon to log out of the PRA Portal.
Any messages from an admin can be displayed at the top of the page and can be dismissed by an end user if they click the Close icon.
You can view the following sections of the PRA Portal:
- Microtenants
If a user has access to a privileged console in a Microtenant, then the Microtenant is displayed in this section. If there aren't any privileged consoles that the end user can access either using Privileged Approvals or including PRA-enabled application segments, then the Microtenant doesn't appear in this section. You can search within the Microtenant list using the search bar to locate a specific Microtenant. The characters & and + cannot be used in the PRA Portal search field.
Close - Shared Sessions
Shared privileged sessions are listed at the top of the PRA Portal. If the shared privileged session is for a privileged console within a Microtenant, then the Microtenant name is also displayed. If a folder is not displayed, the shared privileged session is from the Default tenant. The shared privileged sessions are privileged sessions that have been enabled for the end user. The end user can only view the privileged sessions that they have been given access to.
You can search within the Share Sessions list using the search bar to locate a specific privileged session. Use the arrows to navigate the displayed shared privileged sessions. The characters & and + cannot be used in the PRA Portal search field. To learn more, see Configuring Privileged Capabilities Policies.
Close - Privileged Consoles
The total list of active, expired, and future privileged consoles associated with the PRA Portal you are using are displayed. You can search within the My Consoles list using the search bar to locate a specific privileged console. The characters & and + cannot be used in the PRA Portal search field. The PRA Portal displays the following approval statuses, which are denoted by an icon:
 - Active privileged consoles are currently available for the user. The end date for an active privileged console is displayed in the privileged console.
 - Future privileged consoles are available for the user at a set time in the future. The start date for a future privileged console is displayed in the privileged console.
 - Expired privileged consoles are no longer available for the user.
If a privileged console is active and does not include a checkmark, this means that the user can access the privileged console at any time. To learn more, see Configuring Privileged Approvals.
Click the Connection Type and Status drop-down menus to select filter options for the privileged consoles displayed. Click Select All Displayed to select all of the privileged consoles that are displayed. To remove an added filter, click the Close icon then Apply. To remove all filters, click Clear All. By default, no filters are applied.
When a privileged console is linked to multiple privileged approvals, it only displays one in the following hierarchical order: Active then Future then Expired.
The end user can click on a link to launch a privileged console. The PRA Portal displays the following protocol types, which are denoted by an icon:
 - Secure Shell Protocol (SSH) is used to remotely access Linux/Unix-based systems.
 - Remote Desktop Protocol (RDP) is used to remotely access Windows-based systems.
- Virtual Network Computing (VNC) is used to remotely access Windows-based systems and Mac-based systems (Mac Screen Sharing).
Zscaler supports VNC-enabled privileged consoles that are Remote Frame Buffer (RFB) Protocol compliant.
Close
After you select a privileged console, you can use the virtual keyboard by selecting the keyboard icon at the bottom of the screen. When you are using an SSH-privileged console and you are using the virtual keyboard, any entered text is not initially visible. To fix this, you need to do one of the following actions:
- Turn off the keyboard and then turn it back on.
- Use the scroll bar to scroll down to the typing display screen.
If you are using the virtual keyboard with Windows 7 or 8 and you lock the screen with the keyboard, you cannot enter the password. Clear the already selected key to fix it.
Selecting a Privileged Console
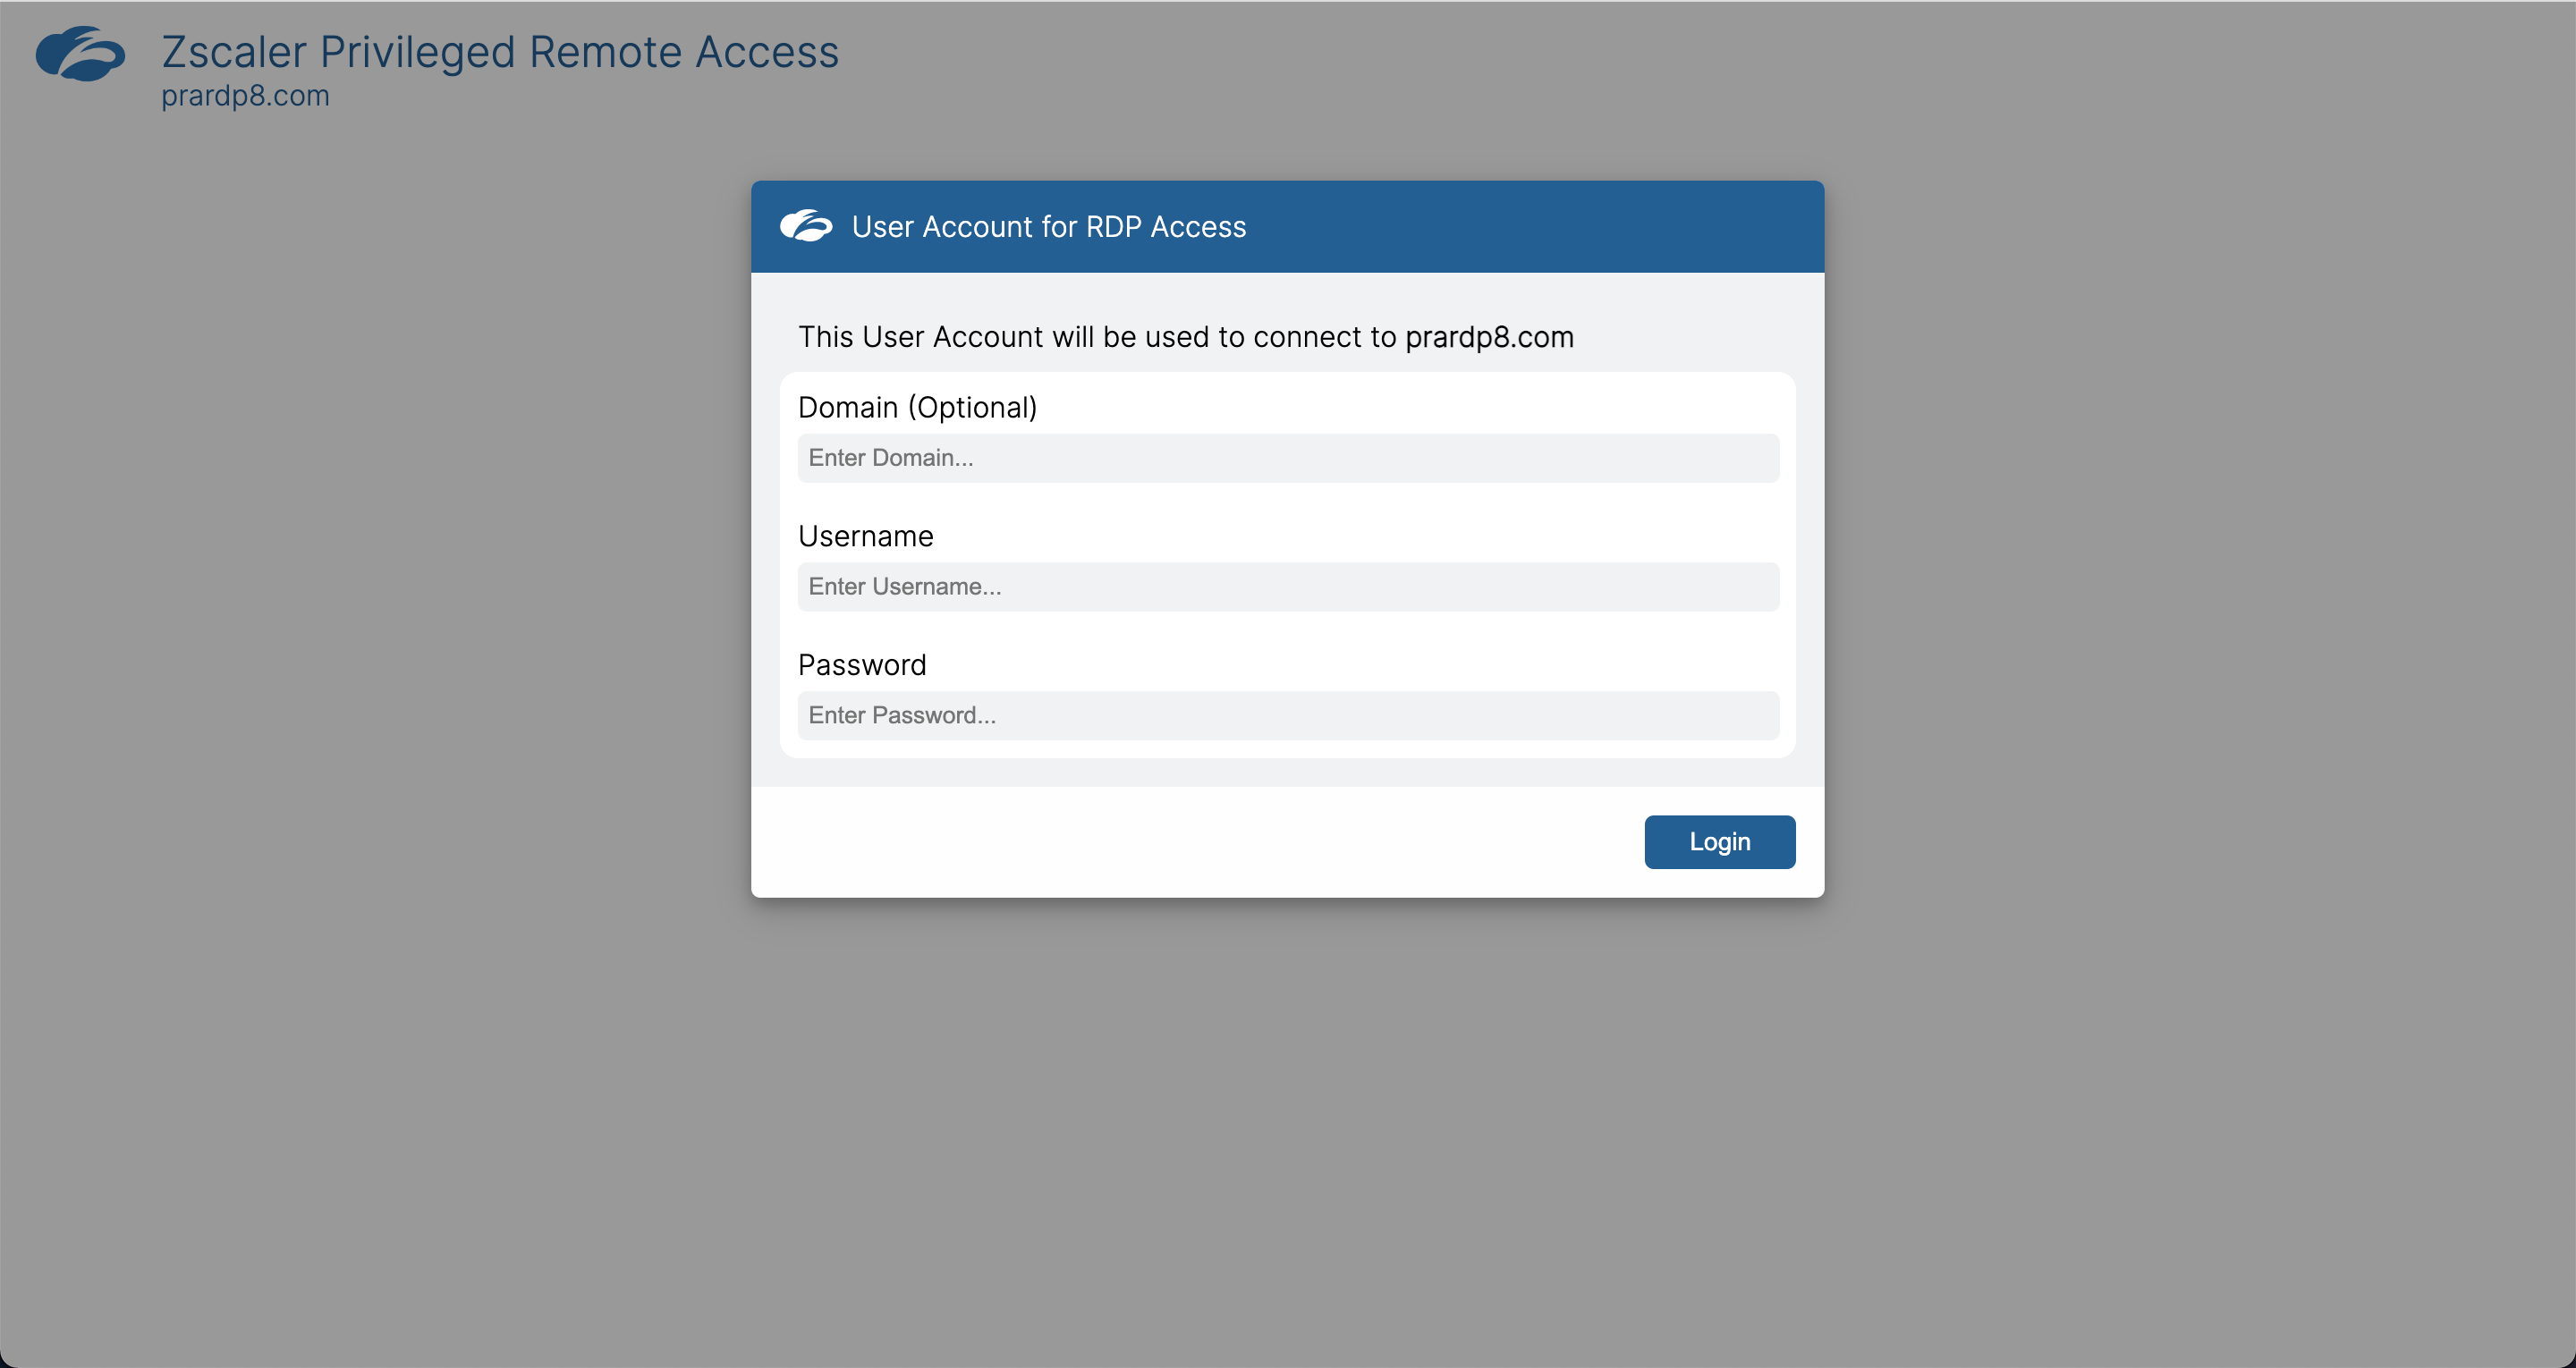
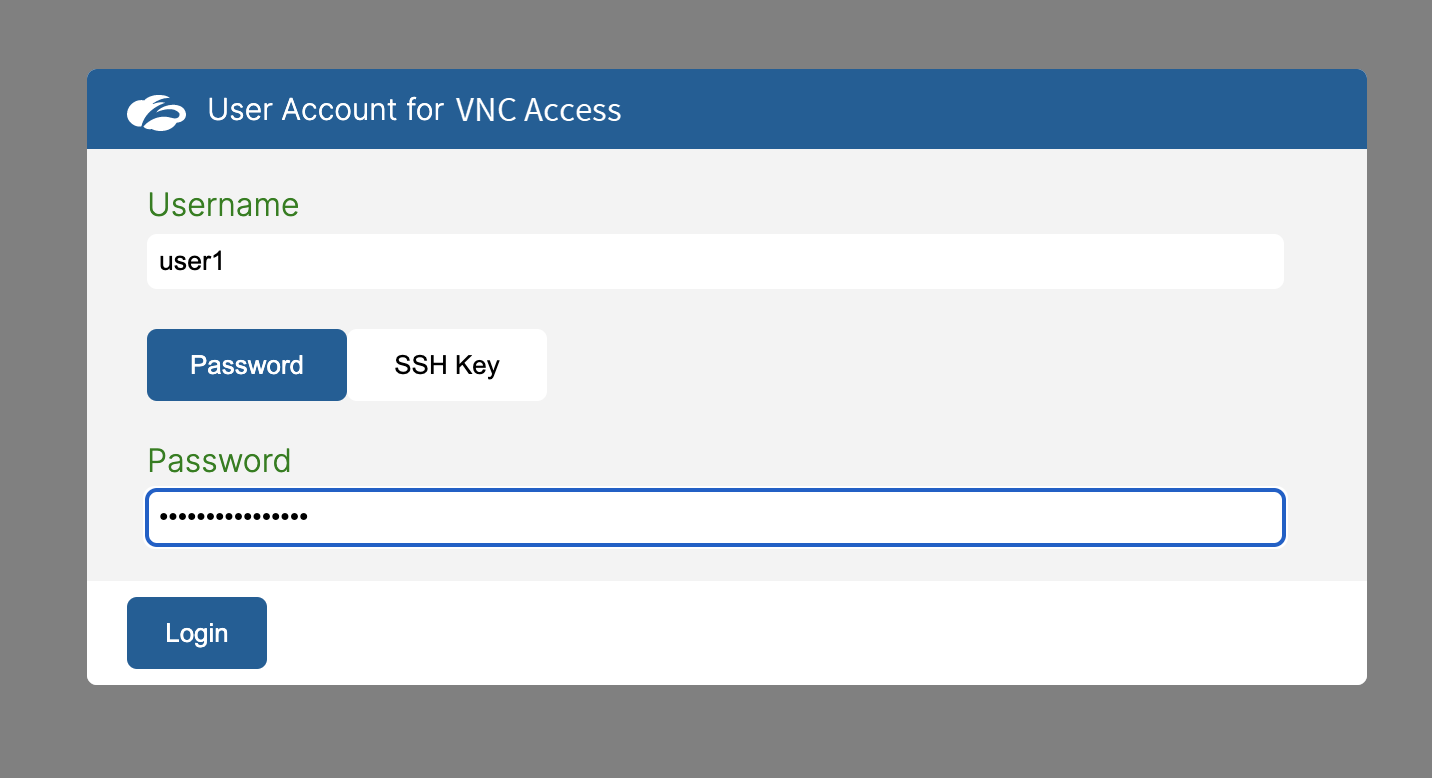
When you have selected a privileged console in the PRA Portal page, you need to fill out the information in the User Account window. The window is for VNC, RDP, or SSH, depending on the protocol linked to the privileged console you’ve selected:
- RDP-Enabled Privileged Console
- Domain (Optional): Enter the domain name you are attempting to access linked to that specific privileged console.
- Username: Enter your username associated with that specific privileged console.
If you are including a domain, you need to enter it in the Domain field. You cannot combine it with the username in the Username field.
If you are entering an Azure username, you need to include.\AzureAD\before the username for the login to be successful (e.g.,.\AzureAD\user@test.com).- Password: Enter the password you have set for that specific privileged console.
- Click Login.
- SSH-Enabled Privileged Console
- Username: Enter your username associated with that specific privileged console.
- Password or SSH Key: Select either the Password or SSH Key option.
- Password: Enter the password you have set for that specific privileged console.
- Private Key: Paste the private key into the text field.
When authenticating in SSH-enabled privileged consoles, you can only use SSH private keys that are generated with an RSA or DSA encryption algorithm.
- Passphrase (Optional): Enter the passphrase associated with that specific privileged console.
- Click Login.
- VNC-Enabled Privileged Console
- Username: Enter your username associated with that specific privileged console.
- Password: Enter the password you have set for that specific privileged console.
- Click Login.
If the VNC display is not working correctly, the end user needs to change the display settings on the machine that the VNC is accessing.
Close
Privileged Session Recording
When you select a privileged console with a Session Recording-enabled privileged capabilities policy, a Recording notification appears in the top right when you are in the privileged console. The recording starts when you are in the privileged session. The recording stops after you disconnect that privileged session. The privileged session recordings can be found on the Privileged Sessions page.
Live Privileged Sessions
After you have logged into a privileged console, you can invite up to 10 additional participants into your live privileged session. As the user who started the session, you are the host by default.
To invite other users into your live privileged session:
- Click the Participants icon.
The Participants window appears.
- Click Invite.
The Invite User window appears.
- Enter the email of the user you are inviting to the live privileged session.
(Optional) If you want to add an emergency access user, add the user name with an emergency access domain in the User Email field. A window appears where you can enter the user's first name, last name, and email address. Click Create. To learn more, see Configuring Emergency Access.
- Click Invite.
After you send the invitation, you receive a confirmation notification. An email invitation is sent to the user with a link to the PRA Portal and a direct link to the live privileged session. After the user is logged into the PRA Portal, they can click on the privileged console in the Shared Sessions section. If you go back to the PRA Portal, you can also see the shared session displayed. After the user joins, you receive a notification. You can click Copy Invitation after you clicked Invite to send the invited user a pasted link in addition to the automated email.
If a participant disconnects from the session, you receive a notification that they disconnected. Disconnected participants show as Inactive in the Participants window. Participants who have left the shared session can rejoin. If a participant rejoins, you receive a notification.
To give control of the keyboard and mouse to another participant in the live privileged session:
- Click Control in the box of the participant you want to give control to. You and the participant given control receive a confirmation of the control transfer request. The participant given control can use the mouse and keypad functions but cannot access clipboard and file transfer features. The original host can no longer use the mouse or keypad in the session, including the clipboard and file transfer features.
- You can regain control by clicking Control in the host box. The participant who previously had control loses control of the mouse and keypad. Those functions are restored to the host, including the clipboard and file transfer features.
To remove a user from the live privileged session:
Click Eject in the box of the participant you want to remove from the privileged session. You receive a confirmation of the ejection request. It can take a few seconds for the user to be ejected. Ejected participants can't rejoin the same shared session unless they are reinvited.


