Experience Center
About Labels
Admins can create labels and then assign the labels as an option during alert rule configuration. After assigning the label, the label becomes part of the alert details and is seen in the delivered alert details when you configure webhooks.
Labels provide the following benefits and enable you to:
- Create and apply multiple labels to an alert rule for grouping purposes.
- Increase the number of alert details for ease of use when configuring webhooks.
To manage and assign labels, you must have the Full Alerts permission. To learn more, see Adding Digital Experience Monitoring Roles.
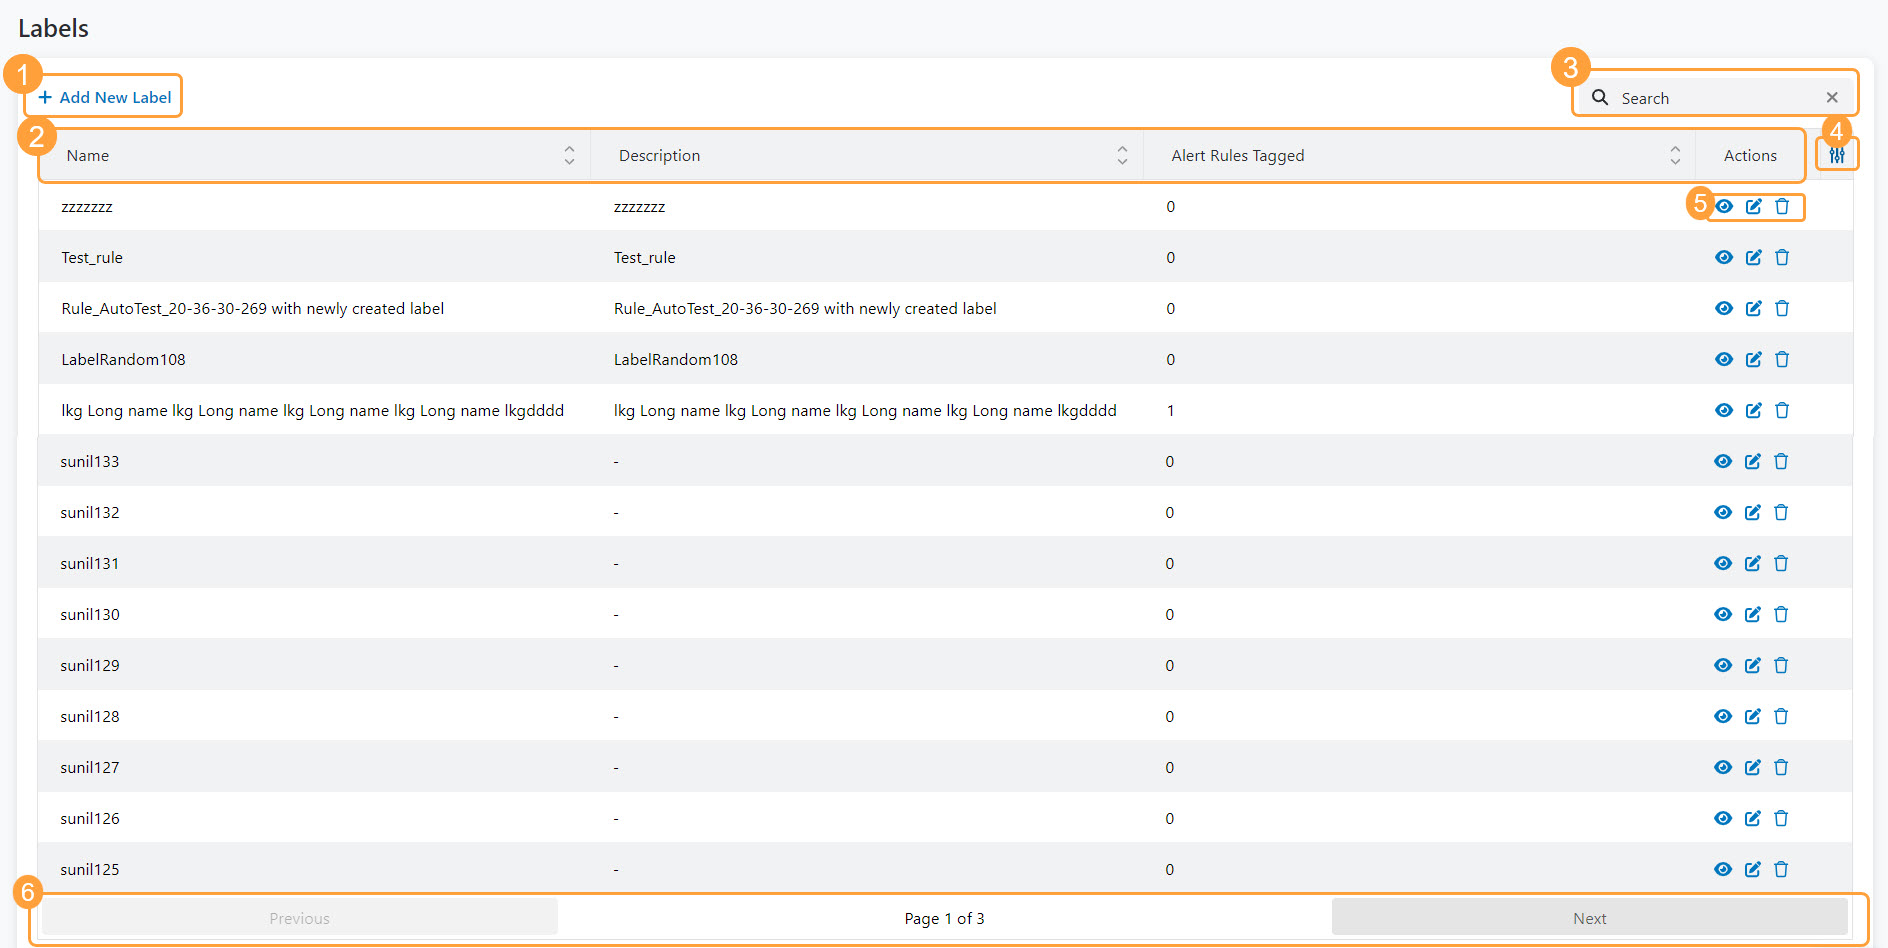
On the Labels page (Policies > Digital Experience Monitoring > Labels), you can do the following:
After creating the label, you can assign it to an alert rule in either the Add Alert Rule or Edit Alert Rule window. To learn more, see Configuring an Alert Rule and Editing an Alert Rule.
- View a list of created labels. For each label, you can view:
- Name: The label name.
- Description: The label description.
- Alert Rules Tagged: The number of alert rules tagged with the label.
- Actions: The actions you can do for a label.
- Search for a label.
- Select which table options to display on the created labels list.
- Select one of the actions on the label:
You cannot delete a label if an alert rule is tagged with it.
- Navigate through the pages of labels.
