Experience Center
Adding Email Tenants
Email tenants allow you to use the Zscaler service as a smart host for inspecting email content sent to external domains as part of your outbound email policy rules. The email tenants you create are used as part of the mail flow rules that you configure on your email server to act on content that violates your outbound email policy rules. To learn more, see Configuring Microsoft Exchange for Zscaler Outbound Email DLP and Configuring Gmail for Zscaler Outbound Email DLP.
To add an email tenant:
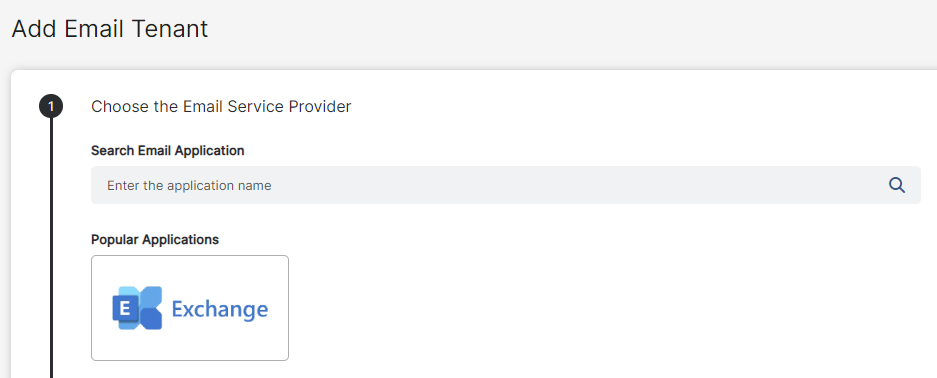
- In the Admin Portal, go to Policies > Data Protection > Policy > Email Tenants.
- Click Add Email Tenant.
The Add Email Tenant window appears. - Under Choose the Email Service Provider, select Gmail or Exchange.
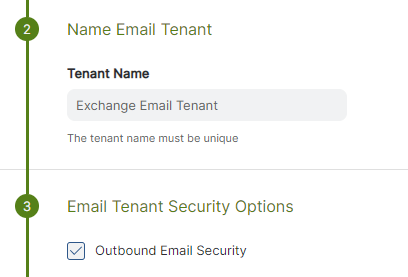
See image. - Under Name Email Tenant, enter a unique name for the tenant.
- Under Email Tenant Security Options, the setting for Outbound Email Security is automatically selected and is not configurable.
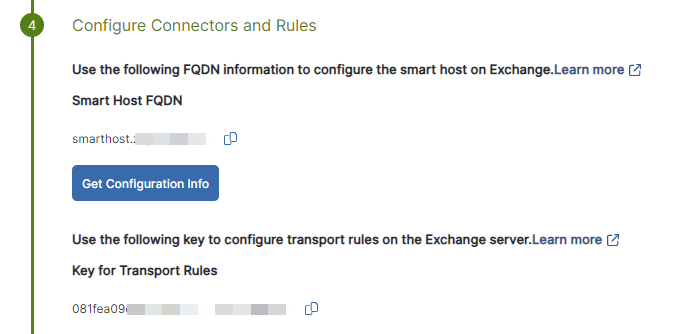
See image. - Under Configure Connectors and Rules, click Get Configuration Info.
The Key for Transport Rules information appears.
See image. - Copy the values for Smart Host FQDN and for Key for Transport Rules and save them for later configuration on the email server.
- Under Email Domain Configuration specify the information for the email domain next hop, which is where the Zscaler service sends email content after inspection:
- Domain: Select a domain from the list. The domains in the list are listed in your company profile.
- Next Hop Address: Enter the address of the relay host for the email domain of the tenant you're configuring. For Gmail domains, enter
smtp-relay.gmail.com. For Microsoft domains, use the following instructions to locate the relay host address:- Locate the relay host address for your Microsoft domain
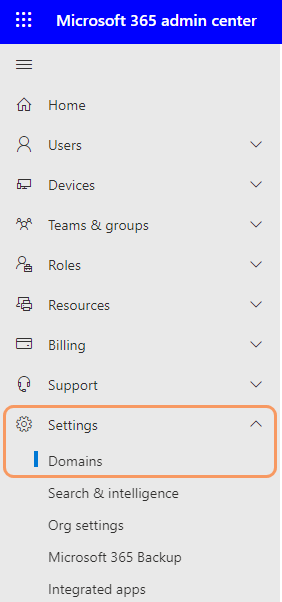
- Sign in to the Microsoft 365 Admin Center.
- In the left-side navigation, go to Settings > Domains.
See image.
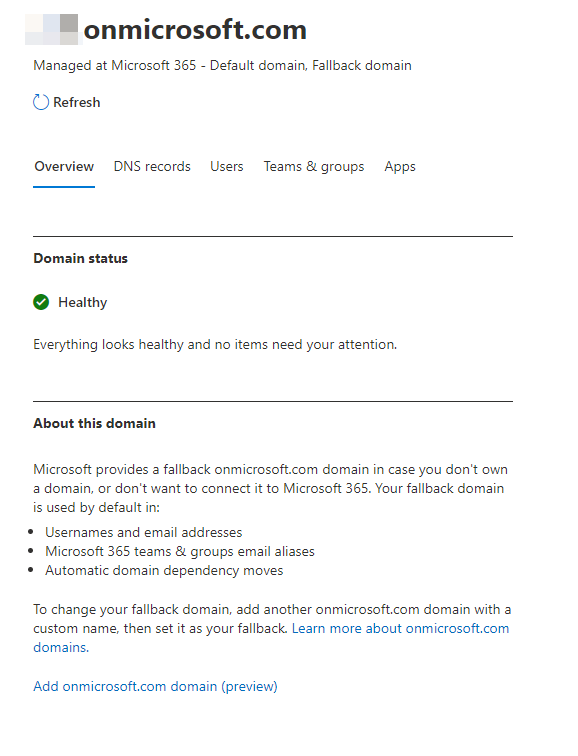
The Domains page appears. - In the list of domains, click the name of the email domain you're using to configure your outbound email policy.
The Overview page for the domain appears.
See image. - On the Overview page, click DNS Records.
The DNS Records page appears. - On the DNS Records page, click the name of the mail exchange (MX) record for the domain.
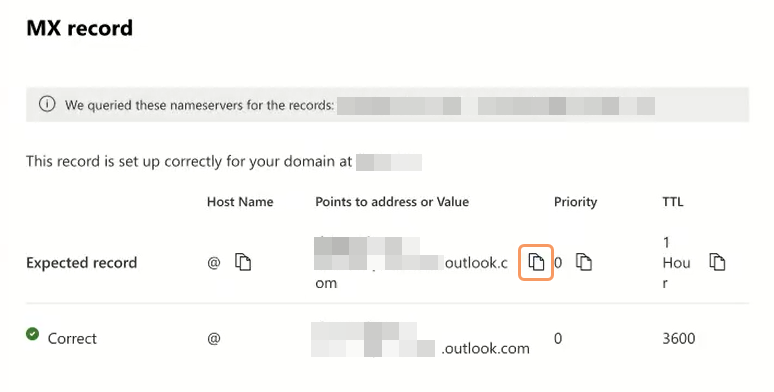
The MX record page appears. - On the MX record page, in the Expected record row, copy the value from the Points to address or Value column.
See image. - In the Admin Portal, paste the copied value into the Next Hop Address field.
- Locate the relay host address for your Microsoft domain
- Port Number: Enter the port number for the email domain (i.e.,
25).
- Click Add Domain.
The domain information is added to the email tenant
See image. - Click Save and activate the change.
