Experience Center
Configuring Segment Groups
Within the Admin Portal, you can add up to 100 segment groups. For a complete list of ranges and limits per feature, see Ranges & Limitations.
You can also add a new segment group when adding a new application segment. To learn more, see Configuring Application Segments.
To configure a segment group:
- Go to the Segment Groups page (Policies > Access Control > Private Applications > Segment Groups).
- Click Add Segment Group.
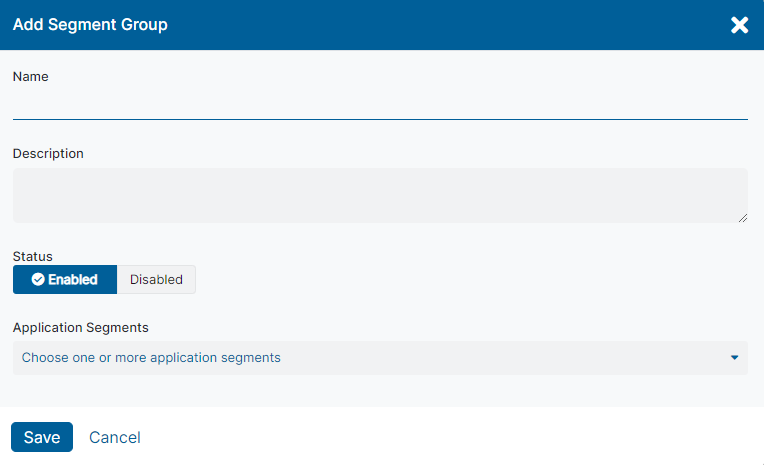
The Add Segment Group window appears.
- In the Add Segment Group window:
- Name: Enter a name for the segment group. The name cannot contain special characters, with the exception of periods (.), hyphens (-), and underscores ( _ ).
- Description: (Optional) Enter a description for the segment group.
- Status: Make sure that the segment group is enabled.
- Application Segments: Choose one or more application segments you want to add to this group and click Save. You can search for a specific application segment, click Select All Displayed to apply all application segments, or click Clear All to remove all selections. An application segment can only belong to one group.

- Click Save.
After you can create a segment group, you can create access policies associated to them and the applications defined within them. To learn more, see About Policies and Configuring Access Policies.