Experience Center
Editing an IdP Configuration
To edit your IdP configuration:
- Go to Administration >Identity > Private Access > IDP Configuration.
- Locate the IdP configuration you want to modify within the table, and click the Edit icon.
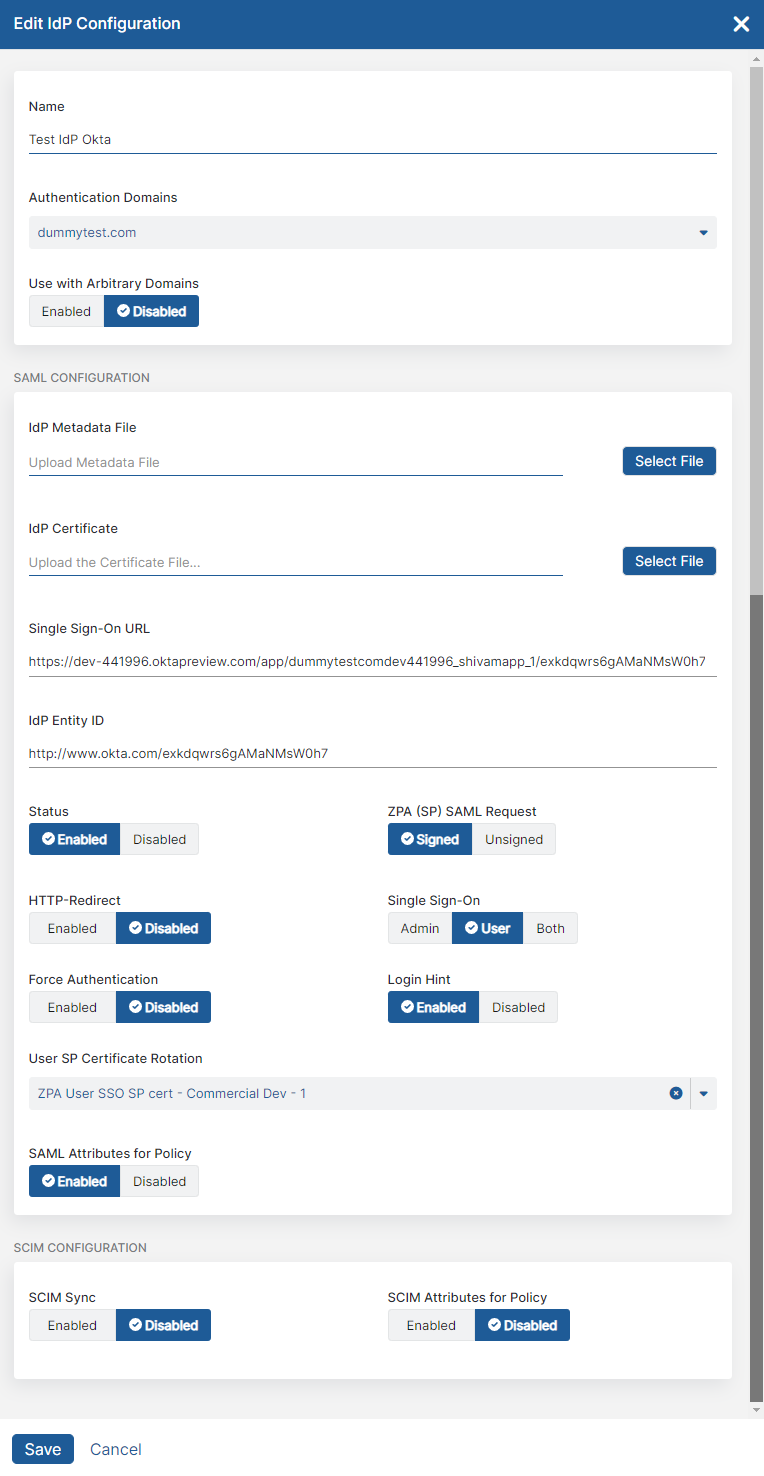
- In the Edit IdP Configuration window, modify fields as necessary. To learn more, see Configuring an IdP for Single Sign-On.
If you are editing the IdP to change the Status from Enabled to Disabled, this change applies to SAML authentication and arbitrary domains if you are using clientless access (Privileged Remote Access, Browser Access, and Cloud Browser Isolation).
Single Sign-On needs to be set to User for Use with Arbitrary Domains to appear as an option in the Edit IdP Configuration window. Once you’ve enabled arbitrary domains with an IdP, it no longer appears as an option for additional IdP configurations, unless you disable or delete the existing arbitrary domain-enabled IdP.
To disable SCIM for identity management, you must select Disabled for SCIM Sync. To learn more, see Enabling SCIM for Identity Management.
If you are editing the IdP in order to change the service provider certificate, you might also need to update the configuration of the IdP. To learn more, see Managing a Service Provider Certificate Rotation.
- Click Save.
