

Experience Center
Configuration Guide for Microsoft ADFS 2.0 and 3.0
This guide provides information on how to set up Microsoft Active Directory Federation Services (ADFS) 2.0 and 3.0 as an IdP for Private Applications.
Prerequisites
Ensure that you have the following:
- A Microsoft ADFS account with admin privileges
- A Private Applications account with an administrator role that allows you to add an IdP Configuration
Configuring ADFS for SSO
To configure ADFS 2.0 and 3.0 as the IdP for a Private Applications user and admin SSO:
- 1. Add Private Applications as a Relying Party Trust
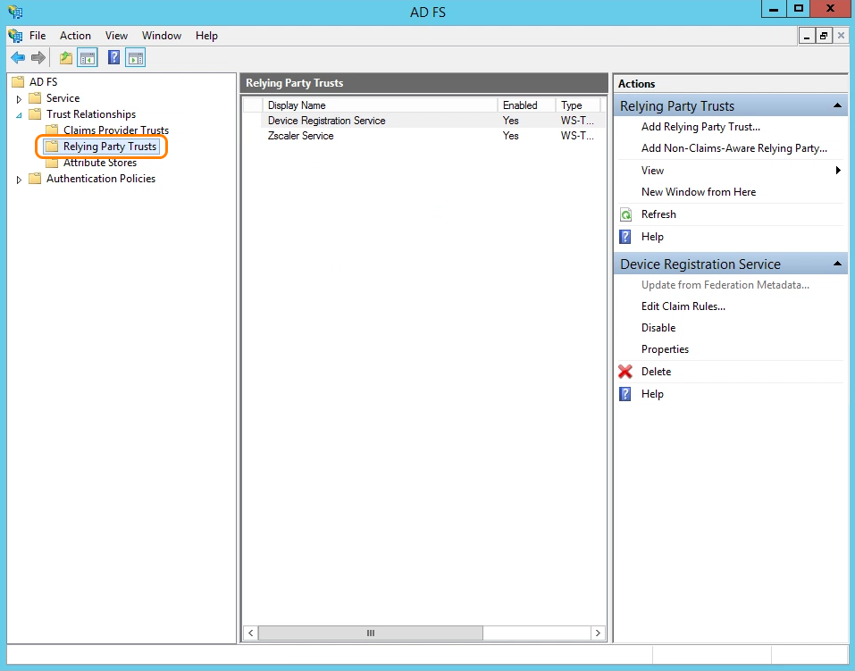
- On the Windows server, go to Administrative Tools > ADFS Management to launch the ADFS management application.
- In the left navigation panel of the AD FS window, expand the Trust Relationships folder, and click the Relying Party Trusts folder.
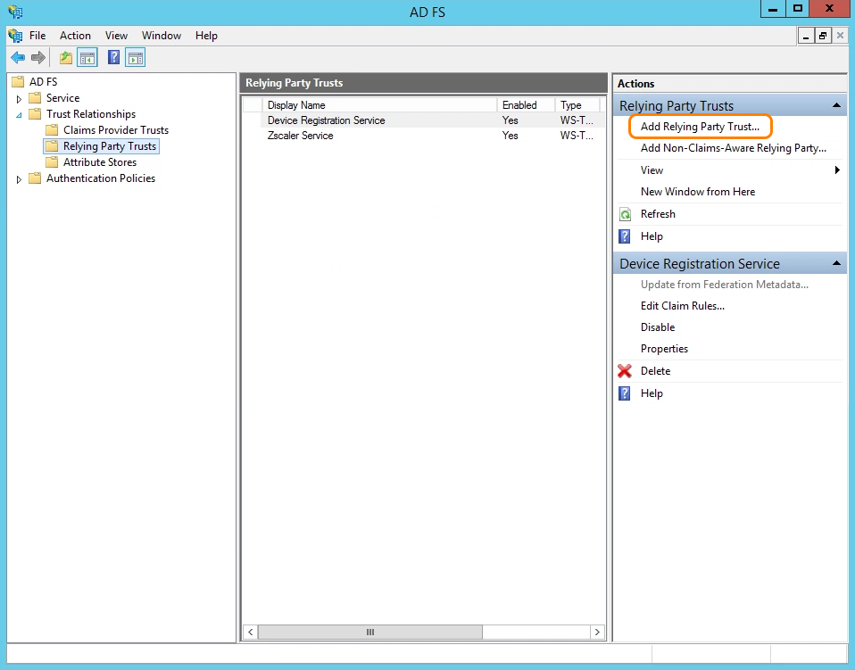
- In the Actions panel on the right, under Relying Party Trusts, click on Add Relying Party Trust….
- When the Add Relying Party Trust wizard appears, click Start.

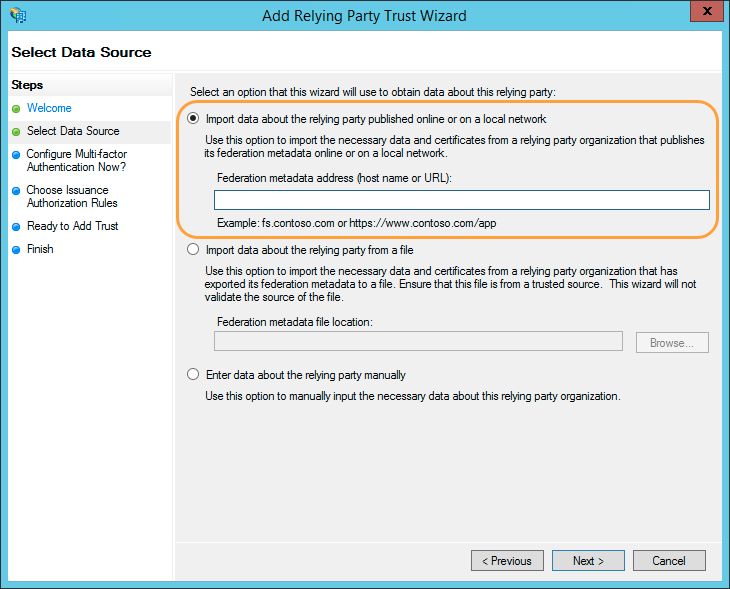
- For Select Data Source:
- Select Import data about the relying party published online or on a local network.
- For Federation metadata address, enter the service provider (i.e., Zscaler) entity ID for user or admin SSO. A Service Provider Entity ID is provided for you when you configure a new IdP configuration in the Admin Portal. This ID is specific to your IdP.
- Click Next.
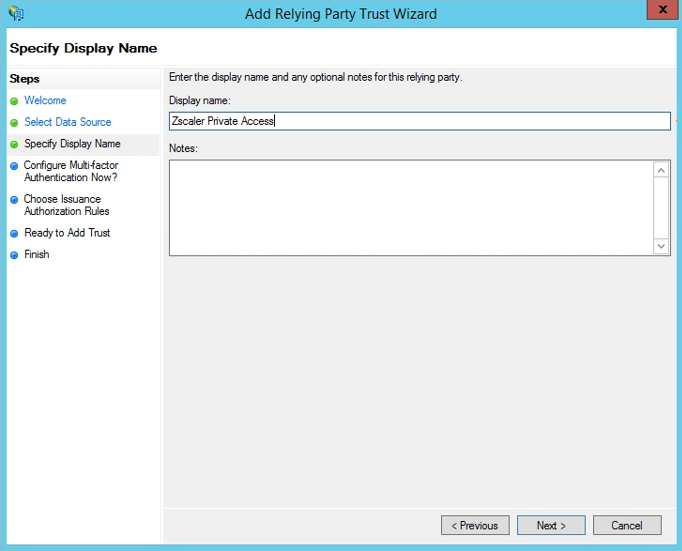
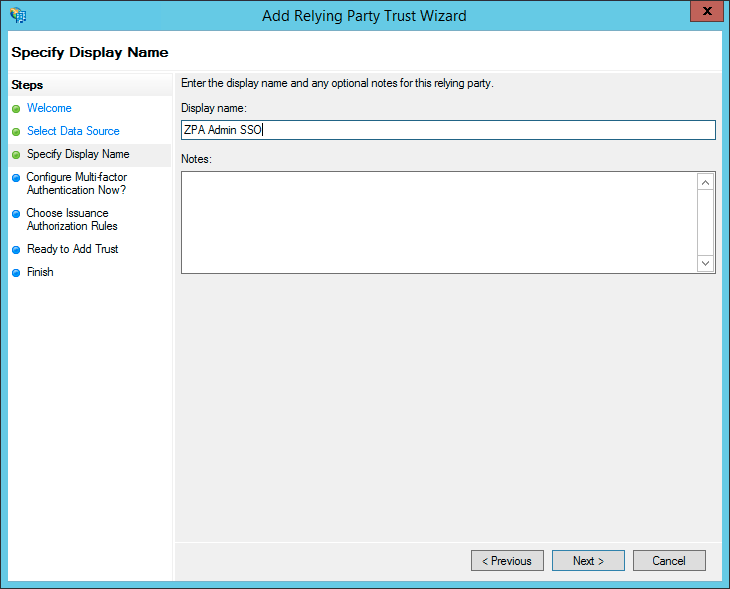
- For Specify Display Name, enter a display name for Private Applications (e.g., Private Applications or Private Applications Admin SSO), then click Next.
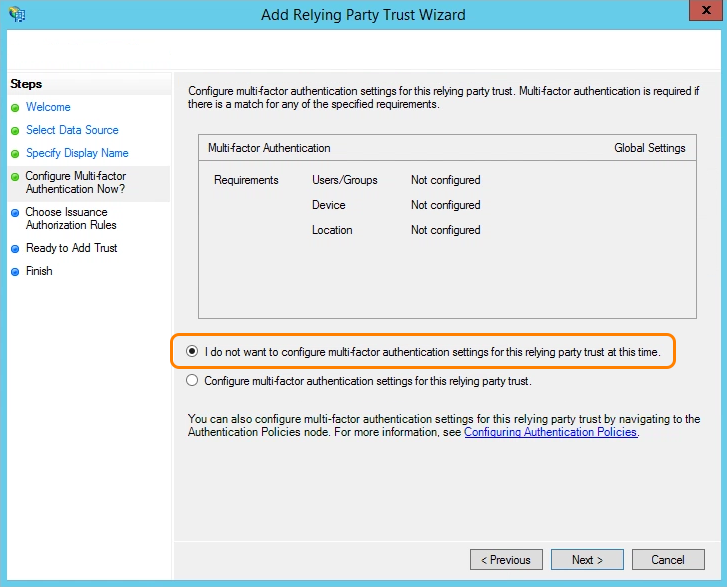
- (Required for ADFS 3.0 Only) For Configure Multi-factor Authentication Now?, select I do not want to configure multi-factor authentication settings for this relying part trust at this time, then click Next.
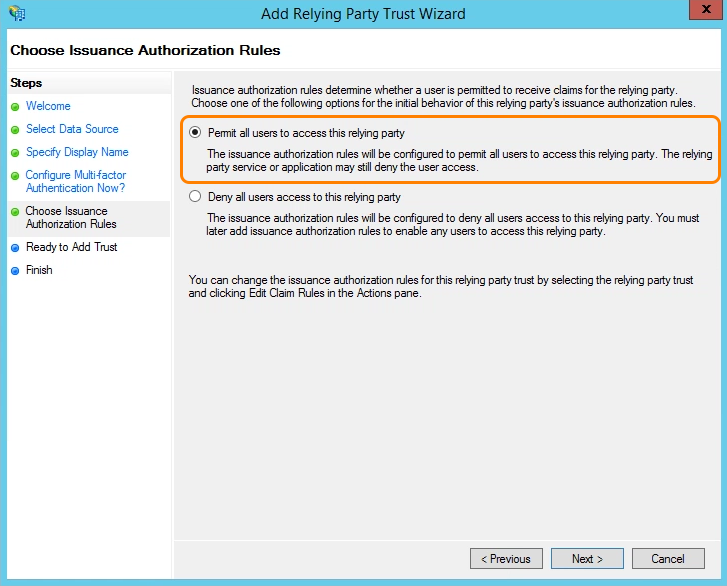
- For Choose Issuance Authorization Rules, select Permit all users to access this relying party, and click Next.
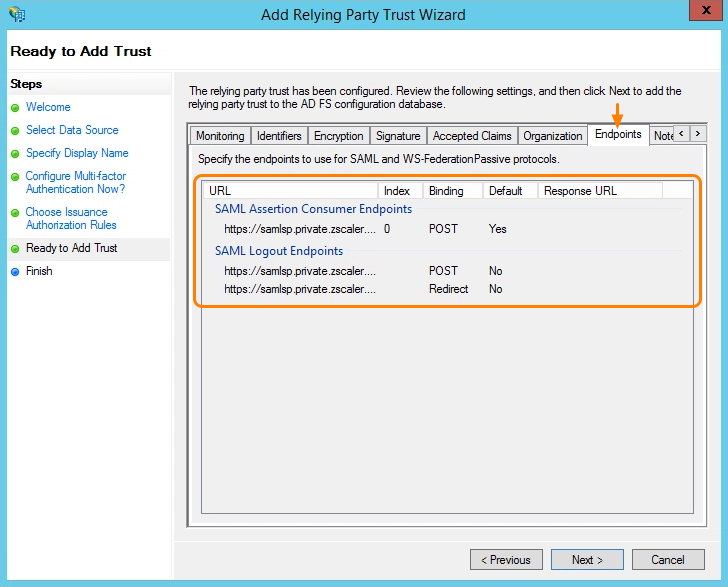
- For Ready to Add Trust, review the following settings:
- On the Identifiers tab, verify that the Relying party identifiers is the same URL you entered for the Federation metadata address in step 1e.ii above.
- On the Endpoints tab, verify the SAML information is as shown in the image below.
- On the Advanced tab, verify that the Security hash algorithm is set to SHA-256.
- Click Next.
- (Required for ADFS 3.0 Only) For Finish, deselect Open the Edit Claim Rules dialog for this relying party trust when the wizard closes, then click Close.
- 2. Add a Claim Rule
Configure the SAML assertions to be federated to Private Applications for identifying the user. This is configured by adding a claim rule.
To add a claim rule:
- In the left navigation panel of the AD FS window, expand the Trust Relationships folder, and click the Relying Party Trusts folder.
- In the Relying Party Trusts panel, right-click the relying party trust that you created, and click Edit Claim Rules.... In the following examples, the relying party trust is Zscaler Private Access for user SSO and ZPA Admin SSO for admin SSO.
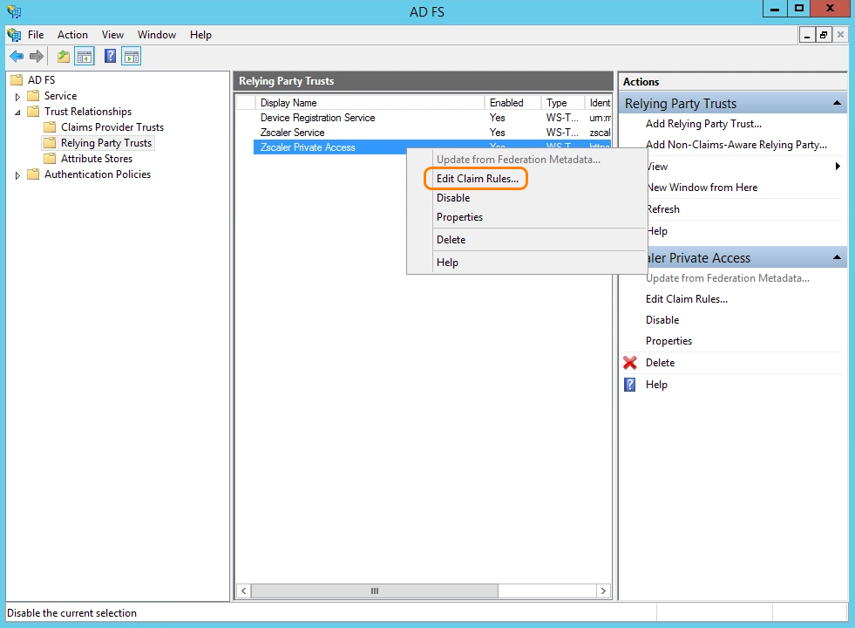
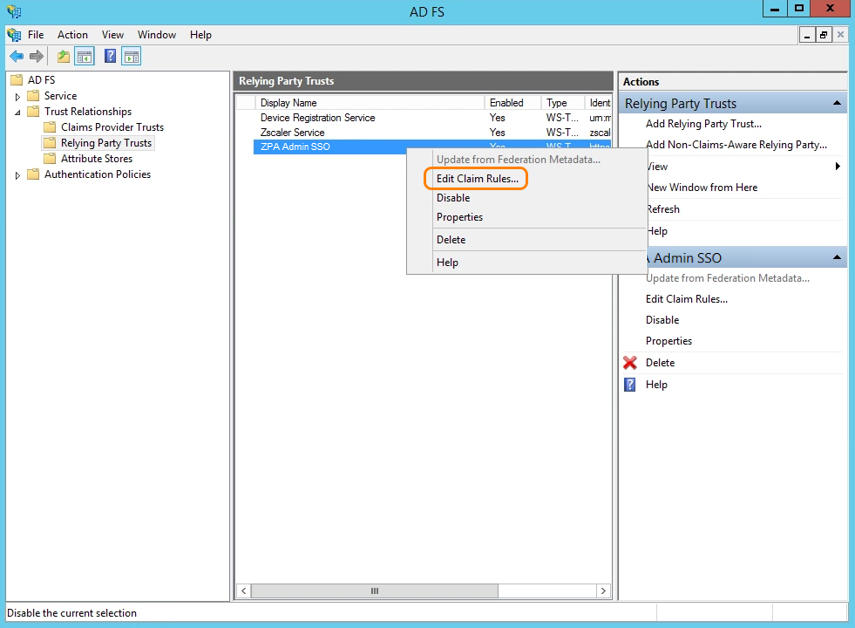
- When the Edit Claim Rules window appears, click Add Rule.
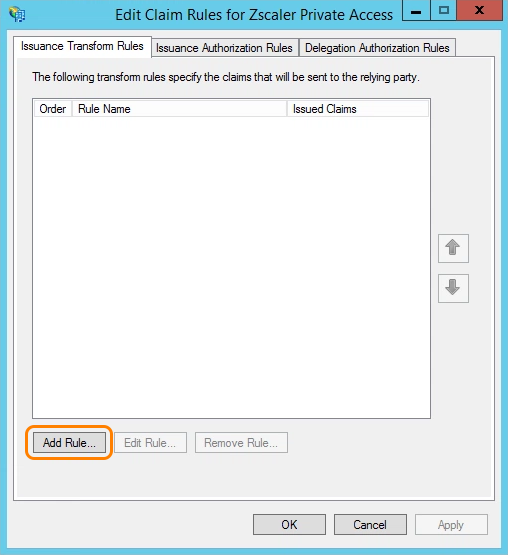
- In the Add Transform Claim Rule Wizard that appears, for Choose Rule Type select Send LDAP Attributes as Claims from the drop-down menu.
- Click Next.
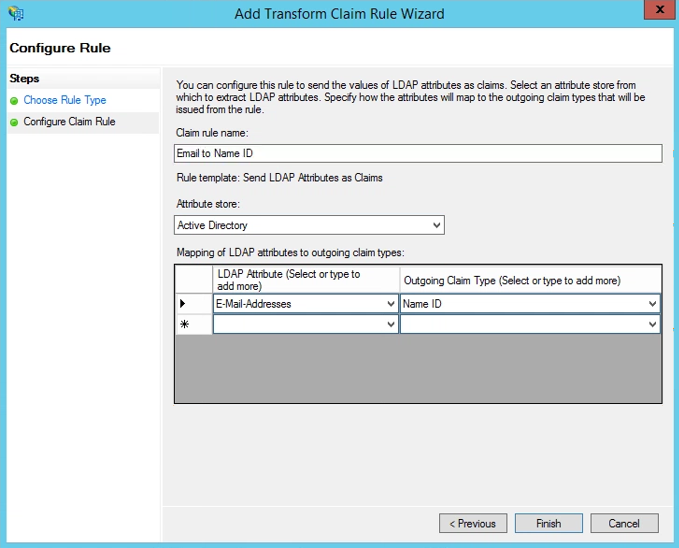
- For Configure Claim Rule:
- Enter a name for the claim rule (for example, Email to Name ID).
- Choose Active Directory from the Attribute store drop-down menu.
- Map the LDAP attributes to fields in the outgoing claim. For example in the following rule, email addresses are mapped to Name ID. In the example, the email address is the same as the Private Applications username:
- From the LDAP Attribute column, choose the attribute for E-Mail-Addresses.
- From the Outgoing Claim Type column, choose Name ID.
- Click Finish to add the claim rule.
- When the Edit Claim Rules window displays the newly added claim rule in the list, click Apply, then click OK.
- 3. Export the IdP Metadata File
- Go to the following URL and save the IdP metadata file to the Windows server: https://<ADFS Server Name>/FederationMetadata/2007-06/FederationMetadata.xml
For example, if the <ADFS Server Name> is adfs.demo1.safemarch.com, you would enter https://adfs.demo1.safemarch.com/FederationMetadata/2007-06/FederationMetadata.xml
- Export the IdP metadata file to a Windows device from where you can access the Admin Portal.
- Go to the Admin Portal and complete the IdP configuration set up.
After configuring your IdP, be sure to verify the Private Applications to ADFS configuration.