Experience Center
Editing a Private Service Edge Provisioning Key for Private Applications
To edit a Private Service Edge provisioning key:
- Go to the Private Service Edge Provisioning Keys page (Infrastructure > Private Applications > Components > Service Edge Keys).
- In the table, locate the Private Service Edge provisioning key you want to modify and click the Edit icon.
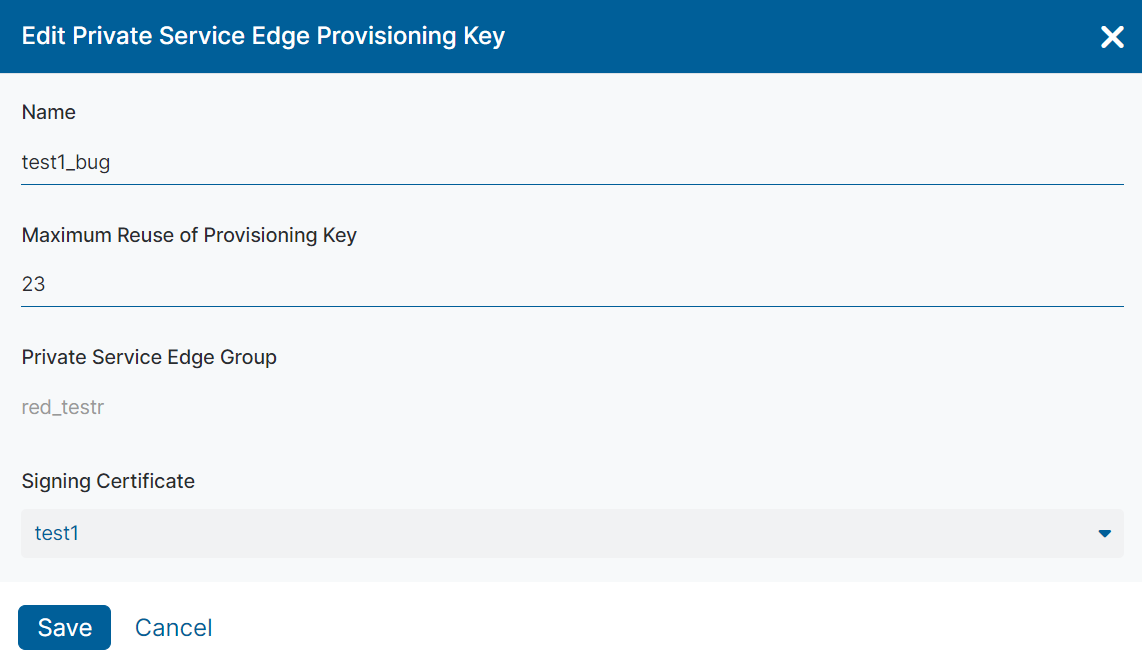
- In the Edit Provisioning Key window, you can only modify the following fields:
- Name: The provisioning key name. When adding a new Private Service Edge for Private Applications, the provisioning key name is automatically assigned as a prefix for the name of each Private Service Edge enrolled with it. Meaning that all Private Service Edges in a given Private Service Edge group will use the same prefix in its name. If you edit the key name, it cannot contain special characters, with the exception of periods (.), hyphens (-), and underscores ( _ ).
- Maximum Reuse of Provisioning Key: The maximum number of instances where this key can be used to enroll a Private Service Edge.
- Signing Certificate: The signing certificate (i.e., enrollment (CA) certificate) for this provisioning key. For example, if your certificate expires, you might need to select a new certificate. All Private Service Edges deployed with this key will have their certificates signed with this signing certificate. You can click on the Signing Certificate field and click Clear Selection to remove any selections.
If any of your Private Service Edges were deployed with a signing certificate that has expired, and you have configured a new certificate, the Private Service Edges will automatically re-deploy using the new certificate.

- Click Save.