Experience Center
Adding a Zscaler Incident Receiver
To add a Zscaler Incident Receiver:
- Go to Policies > Data Protection > Common Resources > DLP Incident Receiver.
- Click the Zscaler Incident Receiver tab.
- Click Add Incident Receiver.
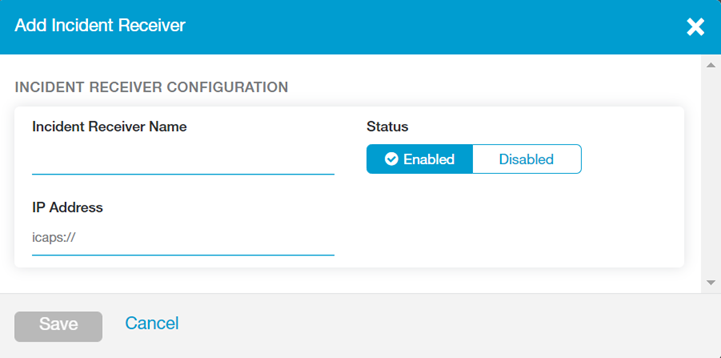
The Add Incident Receiver window appears.
- In the Add Incident Receiver window:
- Incident Receiver Name: Enter a unique name for the Zscaler Incident Receiver.
- Status: Select Enable to allow the service to send communications to the Zscaler Incident Receiver. If you Disable a receiver, the Internet & SaaS Public Service Edge cannot send information to the receiver.
- IP address: Enter the Zscaler Incident Receiver URI. The URI must follow the format:
icaps://<FQDN or IP address>:<port number>/- By default, this field is prepopulated with
icaps://because Zscaler recommends sending transaction information via secure ICAP. - The FQDN or IP address for the Zscaler Incident Receiver is accepted.
- A
<port number>must be included. The default port number is 1344. If you change the port number, you must also update the port number configuration in the Zscaler Incident Receiver to match. To learn more, see Configuring the Zscaler Incident Receiver. - You must include a forward slash (/) at the end of the URI.
- By default, this field is prepopulated with

- Click Save and activate the change.
Once you save the Zscaler Incident Receiver, download the Certificate for the incident receiver from the Zscaler Incident Receiver page or from the Edit Incident Receiver window.
You can associate the Zscaler Incident Receiver with a DLP policy rule (with content inspection, without content inspection, or SaaS Security API) as a DLP incident receiver.